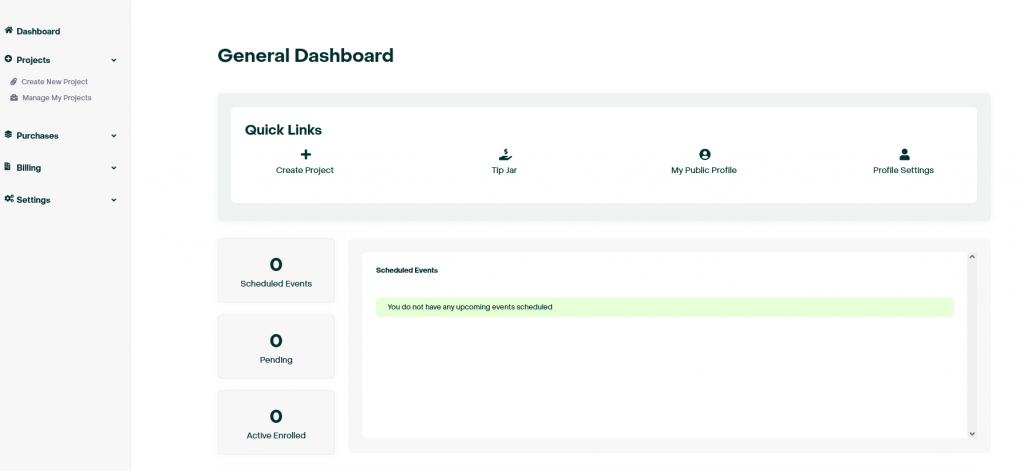
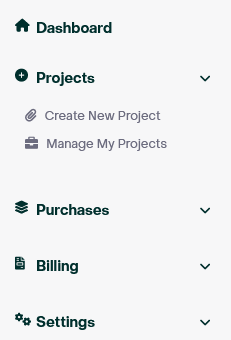
You can start a project from either the menu on the left, or from your dashboard. Click the “Projects” icon on the left to show a drop down menu that will show an option to “Create New Project”.
From there, you can choose to create a course, a live event, or a subscription.
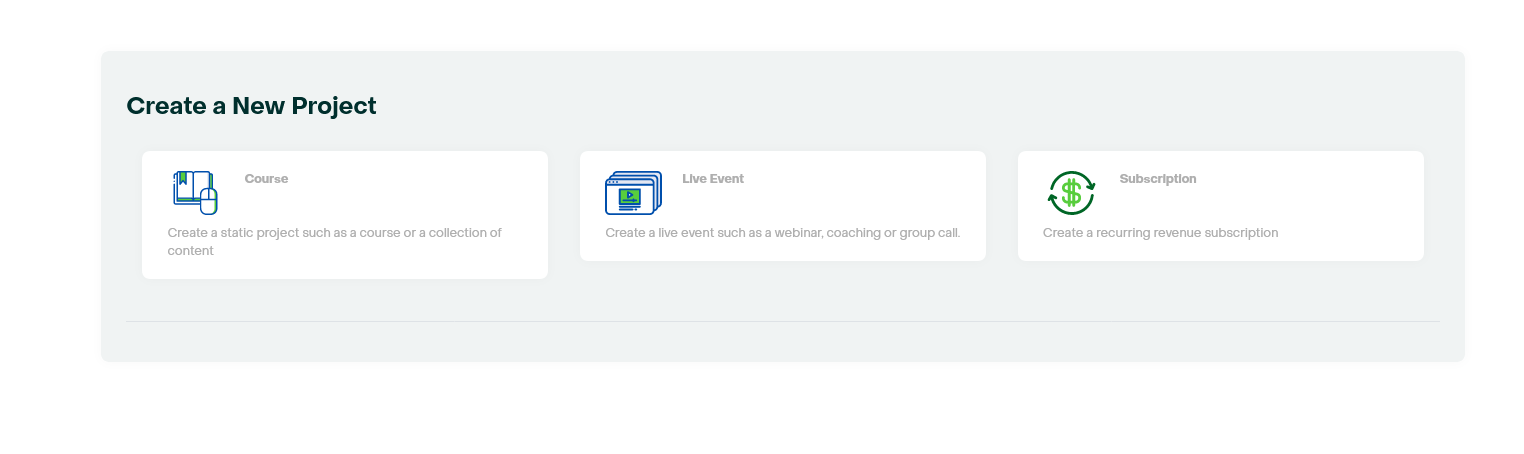
Making a Course:
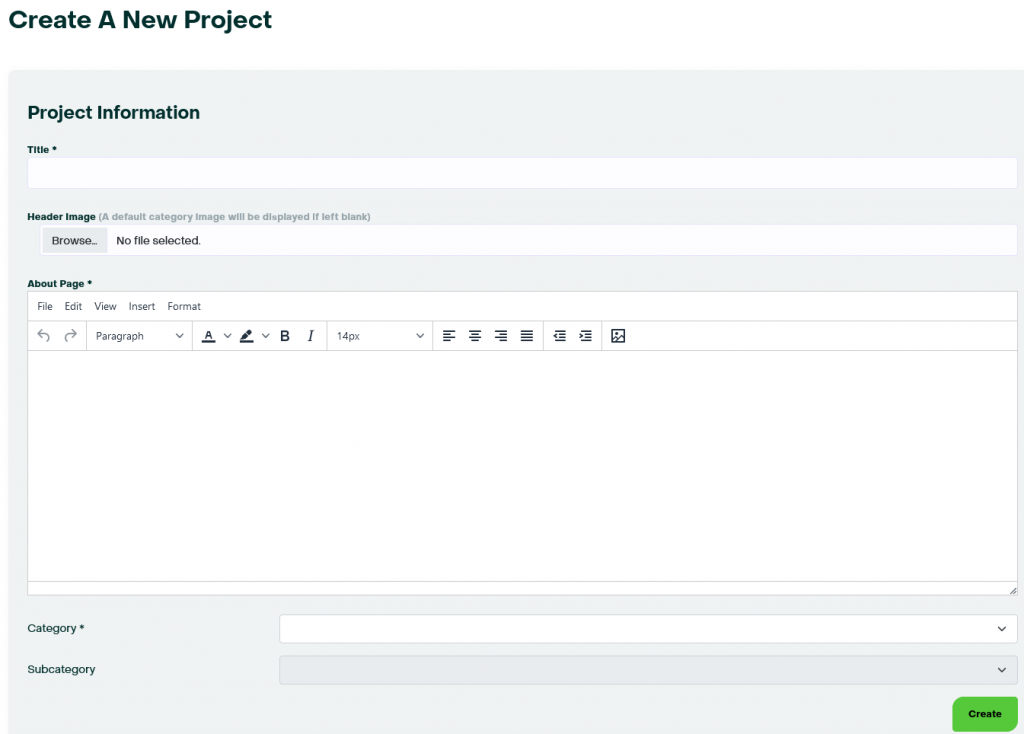
Upon selecting this option, you will be able to input a title, a header image, an about page(will be displayed when course is clicked on), A category, and, if applicable, a subcategory.
From there, you will be able to create modules, which act as subsections of your course.

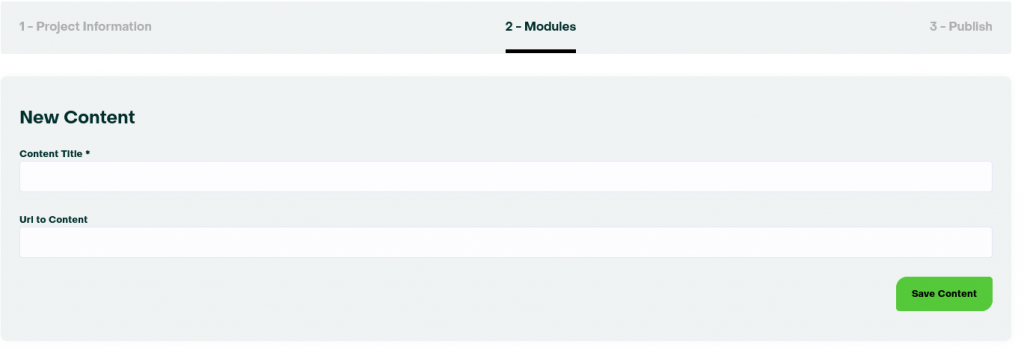
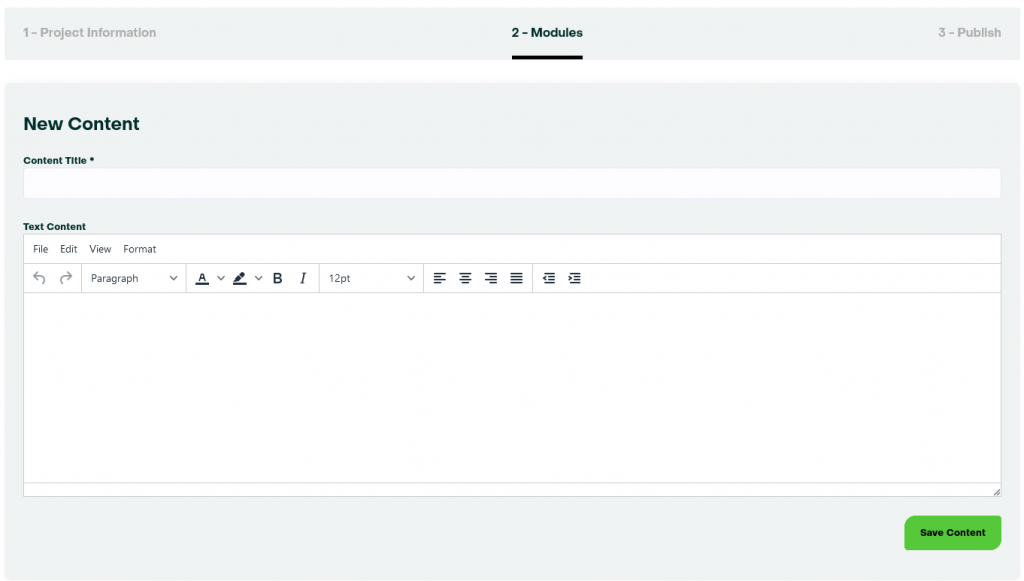
Upon creating and naming a module, you can add a web link(which will be embedded into your course), text, or a file from your computer.
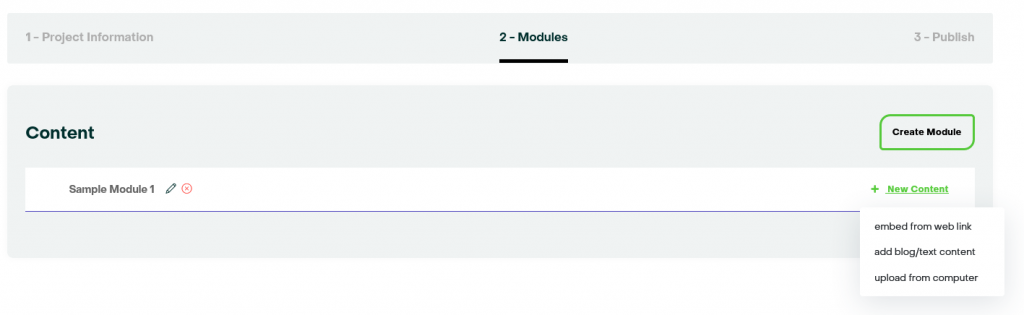
Embedding a link will ask for a name(what the user will see) and a link to be embedded.
Adding text will ask for a title and text that will be viewable to the user.
Any compatible file type can be uploaded.
Throughout making your project, you will see all the content you have so far organized by modules.

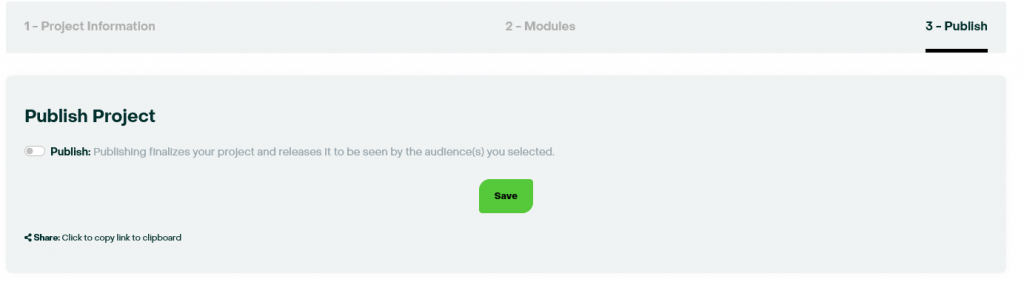
Your project will be saved automatically every time you add content to a module, but there is also a save button in “Publish”. Your project will not be visible to the public until you publish it by clicking on the grey switch(it will turn green).
You can view, edit, remove, and view your customers at any time from “Manage My Projects” under “Projects”
Congratulations! You made your first project. You know the ropes, now share your passion.